The Steps to Building a House
Building your own home from the beginning is an exciting experience. With the right contractor and team, this should be an easy experience for you. However, if the thought of making choices during this process seem overwhelming, here are the steps to building a house to help you mentally prepare for the journey.
The Steps to Building a House
1. Prepare Construction Site and First Inspection
After you’ve chosen your contractor and building team, you will then choose a lot and how you want your house to be on that lot. After leveling off the property ground, a wooden frame or stakes are placed as a template and cement is poured into the foundation. The template and foundation are inspected to make sure that it is up to code to continue building for your home. Anything that will be underground has a space dug up for it during this time such as basement, septic tank, etc.
2. Construct Rough Framing
In order to prepare things inside, a skeleton is made for the house like roofing, walls and flooring. At this time, sheathing is also applied to the skeleton to prevent moisture from damaging the foundation and wooden frame. The last thing anyone wants is mold forming in the very beginning of building their home.
3. Plumbing, Electrical and HVAC
After preparing the skeleton of your future home, the roofing will be completed and at that same time the contractors for plumbing and HVAC will come and put everything in place. The plumbing and heating / cooling systems are placed first before the electrical wiring because it is easier for this wiring to go around the water pipes and cooling vents. Once these are all installed, an inspector will come to make sure that is is ok to continue the building process over the pipes, wires and vents.
4. Add Insulation
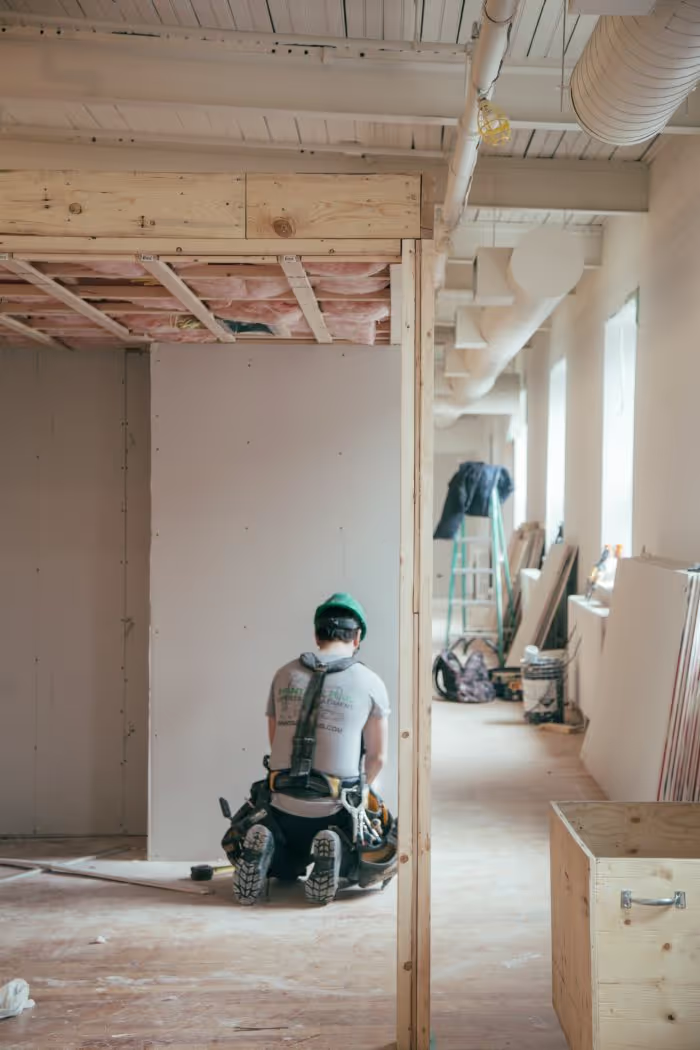
How much insulation your home has can determine how it retains warmth in the winter and keeps your home cool in the summer. The amount of insulation is measured by R-value. The higher this value, the more insulation is in the home. The options for insulation material are many. The most common materials are fiberglass, cellulose and foam. There are other options including a blanket insulation that is rolled up into the wall or a spray that may be more of an expense, but gives double the R-value and can be spread into tighter spaces easily for extra insulation. Once the insulation is installed, drywall is then added to the frame to keep insulation in place.
5. Interior Textures; Start Exterior Finishes
Now that the skeleton looks more and more like a house, it is time to coat the drywall with primer and complete the exterior walls brick, stone or siding.
6. Install Flooring
Choosing your flooring for this step is important. Your contractor will discuss with you what kind of flooring options you have, but be smart about the type of flooring you want in certain rooms. Any rooms that will be humid or contain some moisture (kitchen and bathrooms) will need durable, waterproof flooring such as vinyl or ceramic. Carpeting for bedrooms or living rooms will be added later in the building process towards the end. After flooring is installed, the door frames, trimming, baseboards and counters or cabinets are put in place.
7. Install Exterior Driveways and Walkways
All the exterior walkways and driveway are finished during the interior trimming. Although some contractors wait until the last step to do so, others will do this when the interior is close to being finished so homeowners have a place to walk when doing walkthroughs of the last couple of stages.
8. Appliances, Fixtures and Electrical Details
Now your soon to be future home needs appliances, bathroom fixtures and electrical details. The kitchen will be getting it’s stove, refrigerator, built in microwave and dishwasher. You will also be installing your washer and dryer around this time as well. The bathroom may already have a standing shower or bathtub installed during the placement of plumbing in the beginning because the house had more space to install large one piece items as such. This is also the time that your home will be getting the outlets, electrical switches, ceiling fans and other electrical details.
9. Exterior Landscaping and Final Details
While all the final details inside the house are being finished (mirrors, shower doors, closets, window screens), the outside landscaping will get it’s final touches as well such as trees, bushes, grass or rocks. This is when the last inspection is done to make sure the house is ready for move in.
10. Final Walkthrough
You will finally be able to see your house with the contractor as they walk through the house with you and describe the features and functions of all the appliances and fixtures.
In Conclusion
Now your house is ready to become a home. Knowing the steps to building a house from the bottom to the top should help you understand what you will experience throughout the process. From when the plan is selected, to the final walk through, these steps are what you should expect when building a house.